Mint Chocolate
Ice Cream
Raw milk & honey
Prep Time: 6+ hr. Chill Time: 4+ hr. Churn Time: 15 min.
Total Time: 10+ hr. (usually overnight)
Makes: 6 cups (48oz.)
Macronutrients for 1 cup: 10g protein · 50g carb ·16g fat
For a visual, see my instagram video here!
About the dish:
Once my husband and I began the animal based way of eating, I missed dessert and one of the only treats that fit our new lifestyle was ICE CREAM!
I asked for an ice cream maker for my birthday and my husband happily delivered! $99 for a Cuisinart ice cream maker. No salt needed, just a frozen bowl, and a mixing paddle with one switch that says on/off.
For the past 2 years I have been making a batch of ice cream nearly every weekend. Sometimes I make it the lazy way (just mix some cream & sweetener and throw it in) but most weekends I make a rich ice cream shop style batch that includes a little more work and an overnight wait…
In my other ice cream recipes I give several alternatives that make it quick and easy. I would NOT recommend skipping steps for this flavor in particular. The mint leaves sitting in WARM milk is what gives it the flavor!
Want an easier ice cream recipe? Check out all of my flavors here!
The chocolate I use is only sweetened with dates or honey!
HU chocolate used to be my go-to but these chocolate chips are very hard to find now and they have also tested high in lead (like most chocolate).
Down below is my new go-to! They are only sweetened with honey and this brand specifically tests for heavy metals. I use the sea salt one and chop it into small pieces for my recipes that call for chocolate.
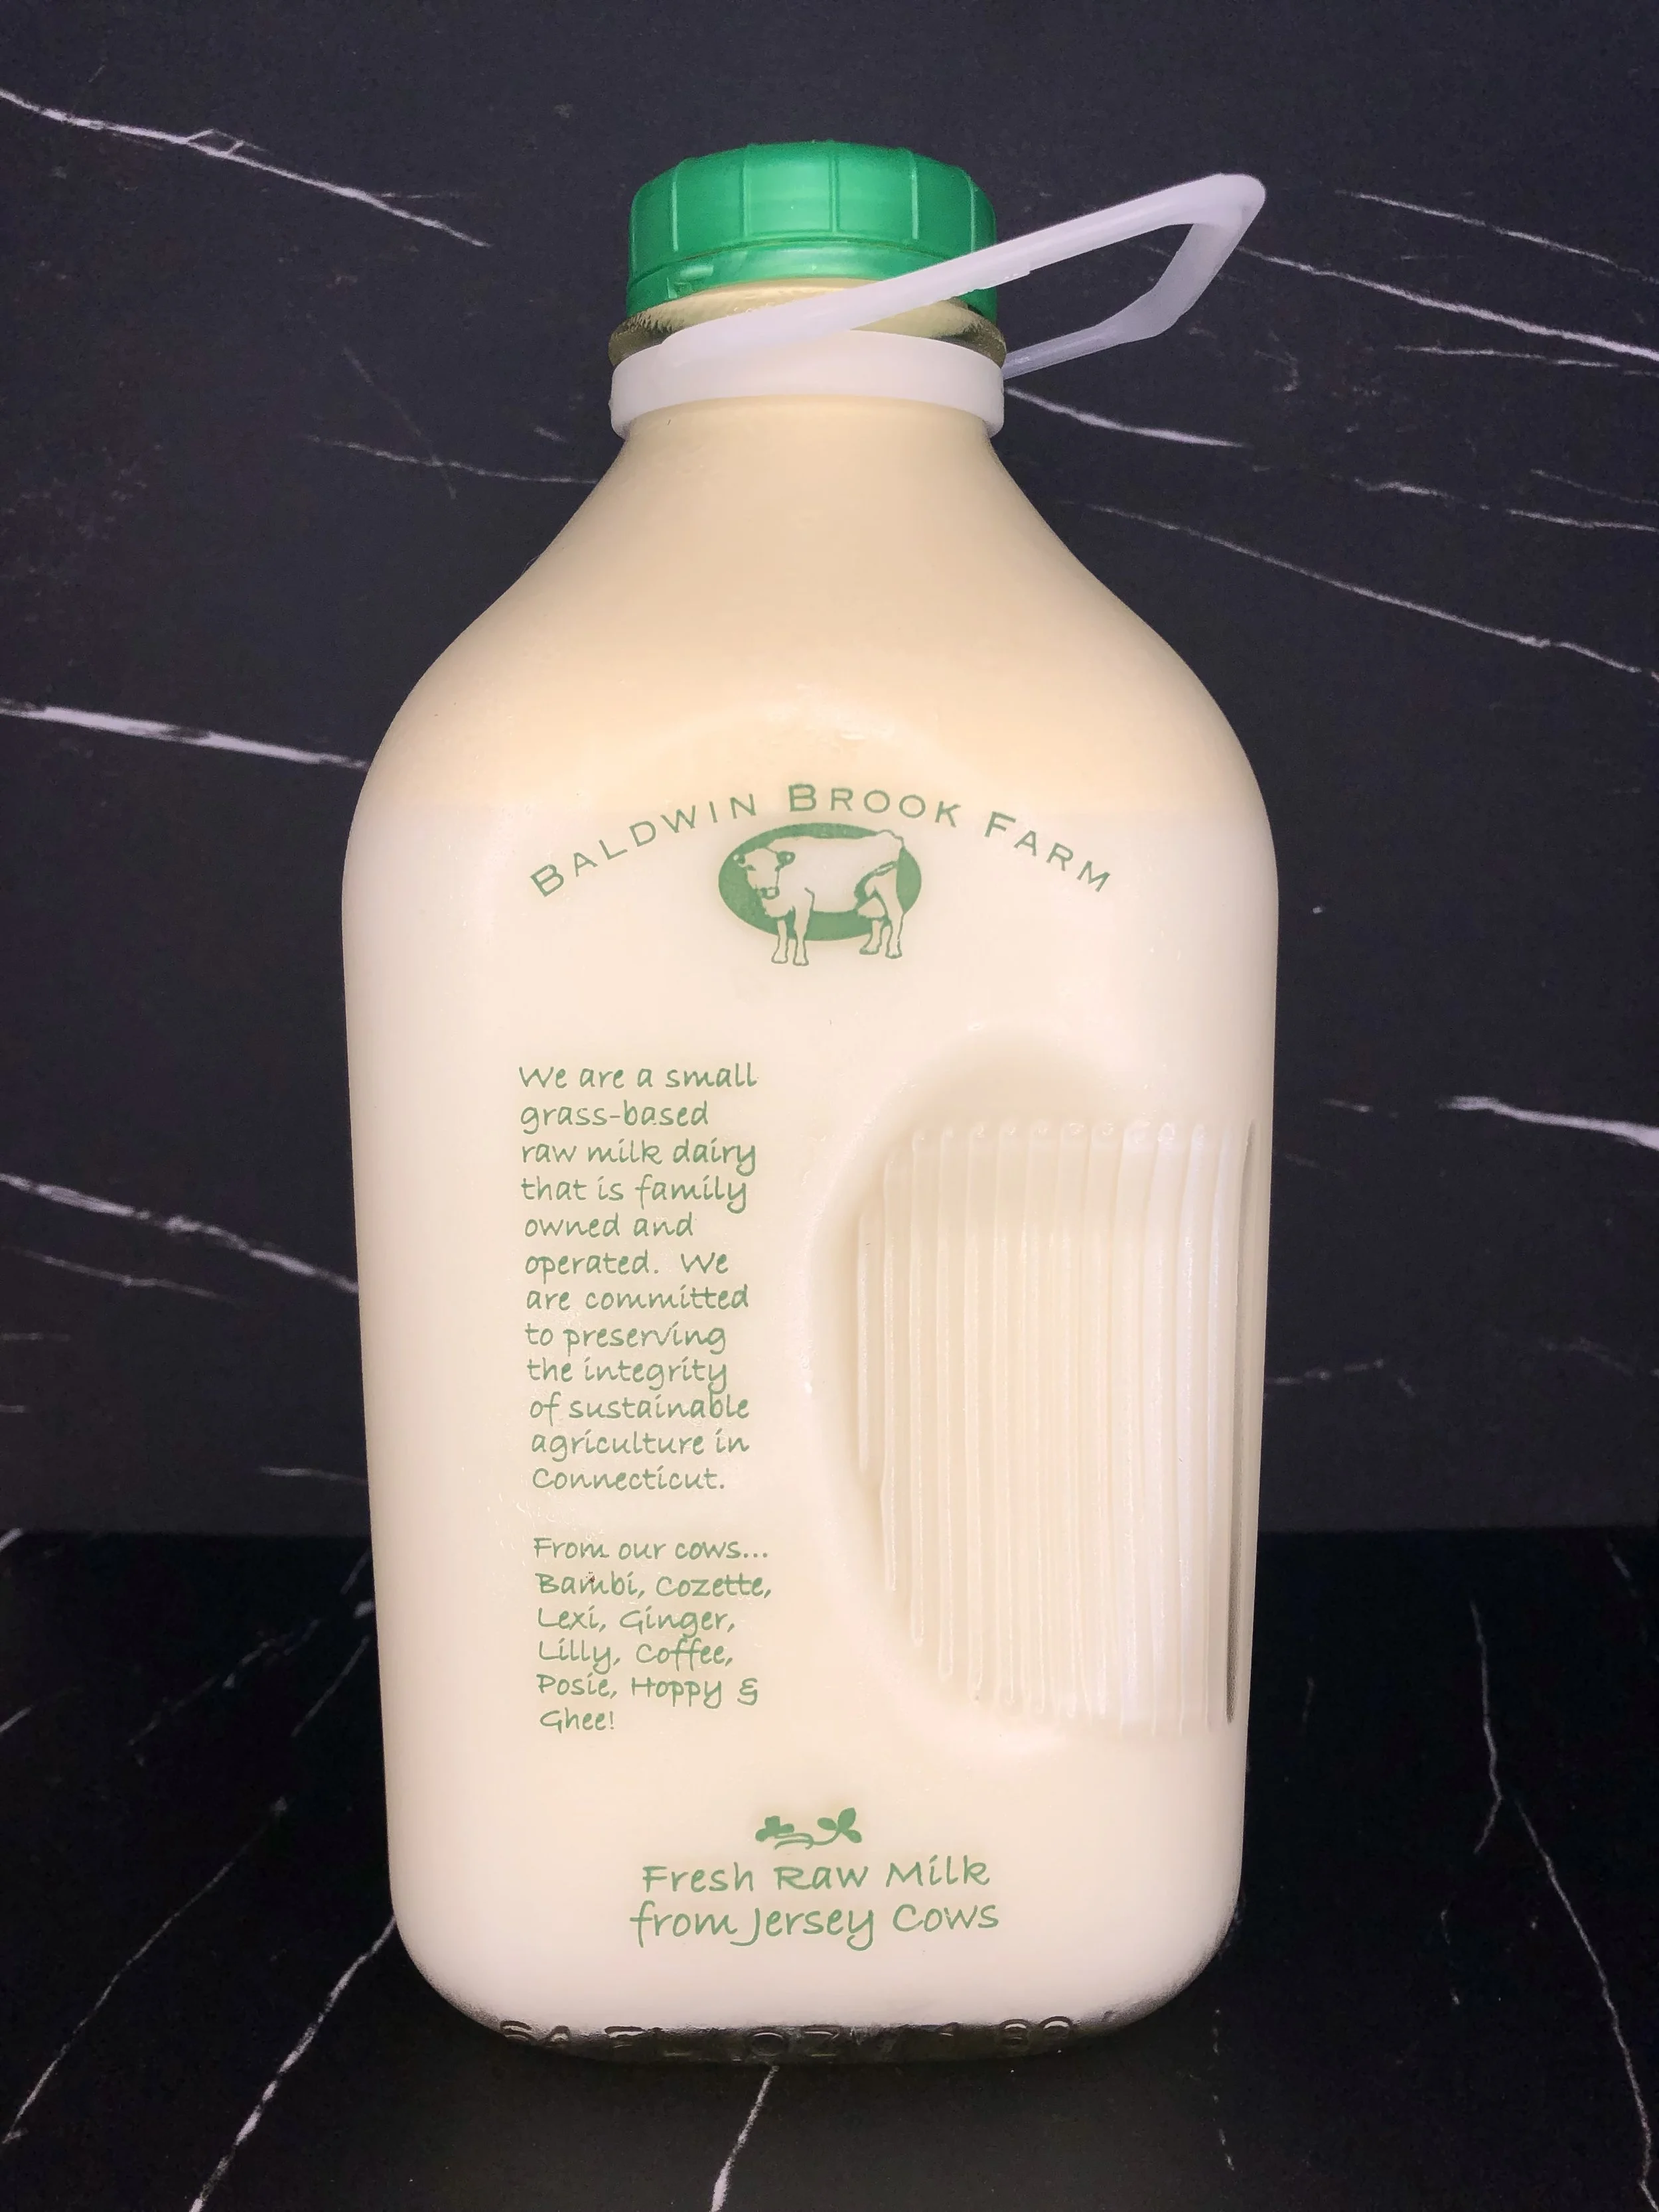
Raw Milk
Raw milk is unpasteurized milk, or milk in its pure form, straight from the animal.
Pasteurization is when the milk is heated at a high temp for long enough to kill bacteria and allow for a longer shelf life.
In 1973 the government required all milk sold across state lines needed to be pasteurized due to safety concerns of foodborne illnesses. To this day many states do not allow the sale of raw milk.
Although this may seem safer, pasteurization also kills good bacteria, enzymes, and nutrients that work symbiotically to allow our bodies to properly digest milk, as well as provide many health benefits.
Some health benefits that raw milk can provide are reducing environmental allergies, strengthening your immune system, improving digestive health, increasing bone density, and overall having a healthy gut.
It is a personal decision to drink raw milk. I choose to because I think the benefits far outweigh the risk of food poisoning. There are much riskier foods to get foodborne illnesses from and as long as you are buying from a trusted farmer, I wouldn’t worry!
Please note:
Heating the milk for this recipe may remove some benefits that raw milk provides. It gets heated until it steams which is around 180°F and then it gets baked.
Even though the heating likely kills some of the beneficial bacteria, I still think it’s better for you than pasteurized.
Want to find raw milk in your area? Go to getrawmilk.com
Make sure your ice cream bowl is completely frozen!
Follow the instructions according to your ice cream maker. The Cuisineart ice cream maker that I use has an insert that needs to be completely frozen solid before using.
I have made a batch of ice cream and then immediately re-froze my ice cream bowl to use the next day, and it WASN’T READY.
If you are looking to make multiple batches in a row, get more than 1 freezer bowl!
I highly recommend allowing the freezer bowl to completely thaw after each use and then freeze for a minimum of 24 hours before using it again. You know its frozen completely when there is no water noise if you shake it. I also keep the mixing paddle in the freezer inside the bowl.
I also recommend storing your ice cream container in the freezer. Once the ice cream is done churning, having a frozen container to put it in will help freeze the ice cream quicker.
What texture do you want?
Remember, if you’re heating the ingredients like I recommend, you will need to let the mixture cool down and then place them in the fridge for at least 4 hours before churning (I typically do overnight).
You never want to add warm ingredients to your ice cream maker.
After the mixture has been refrigerated…
If you want the ice cream to be soft-serve, I recommend churning the ice cream 4-6 hours before serving.
If you want the ice cream to be hard-serve, I recommend churning the ice cream 8+ hours or overnight before serving
If you are churning the ice cream more than 24 hours before you will serve it, or eating leftovers, you might want to let the ice cream thaw at room temp for 10+ minutes before serving because it will get a little “icy”.
If you put your ice cream scoop in a cup of hot water, it makes scooping leftover “icy” ice cream much easier!
Follow any of the links to view a list of all of the foods or kitchen items that I recommend. It will provide an Amazon link to purchase if you wish.
As an Amazon associate I earn from qualifying purchases.Equipment:
Cuisinart Ice Cream Maker or similar
(the insert needs to be frozen for at least 24 hours)
Thermometer (optional)
Medium pot
Medium mixing bowl with spout
Plastic spatula, large spoon, whisk
Double boiler method for melting chocolate
Ice cream storage container or plastic Tupperware
Ingredients:
5 cup raw milk (with cream layer)
Need to find raw milk? Go to getrawmilk.com3/4 cup raw honey
5 eggs yolks
1 package fresh mint leaves (.5oz/14.2g)
1/4 tsp. Salt
1 Tbsp. Vanilla extract (optional)
1 bar sea salt elements chocolate bar (see above)
1 Tbsp coconut oil
Day Before Prep:
Make sure your freezer bowl insert is completely frozen (at least 24 hours is recommended). There should be no liquid noise when you shake it. Keep this in the freezer until you are ready to churn the ice cream.
It is best to let your raw milk sit undisturbed so the cream layer is resting at the top before pouring to make your ice cream.
In a medium saucepan add your raw milk/cream.
Warm your milk over low/medium heat, whisking every couple of minutes-DO NOT LET IT BOIL! You want the cream mixture to reach around 130°F (this will take about 5-8 min).
While you are warming your milk, add your egg yolks and honey to your medium mixing bowl and whisk until combined.
Once your milk is around 130°F, slowly pour the egg/honey mixture into your milk mixture while whisking!
Leave the ice cream mixture on the stovetop over low/medium heat for 5 more minutes. The mixture will start to thicken and bubble slightly. Once you see small bubbles/simmering, REMOVE IMMEDIATELY.
Using your fine mesh strainer, pour the ice cream mixture into a mixing bowl with a spout, this will remove any thick custardy chunks.
P.S: you should eat these custard chunks, they are delicious!!
Add your mint leaves (removing any stems) to the warm ice cream mixture, whisking together.
Allow the ice cream mixture to cool on the countertop. Once the bowl is cool enough to go into the fridge, cover and transfer to the fridge for at least a few hours, preferably overnight.
4+ hours Later or Next Day…
Remove ice cream mixture from the fridge and scoop all of the mint leaves out.
Add salt and vanilla.
Plug in your ice cream maker. Add your freezer bowl, mixing paddle, and top to ice cream maker. Follow the specific instructions for your ice cream maker.
MAKE SURE THE ICE CREAM MAKER IS ON and everything is in place before pouring mixture inside.
Once the ice cream maker is on and turning, slowly pour your ice cream mixture (through a fine mesh strainer) into the machine, using a rubber spatula to remove every drop!
Allow the ice cream to churn for 10 minutes. Every ice cream churns a little differently depending on how cold your fridge gets and how well your freezer bowl stays frozen.
While the ice cream is churning, melt your chocolate and 1 Tbsp coconut oil (this makes it silky and easy to pour).
When the ice cream is a few minutes away from being done, slowly pour the chocolate into the ice cream maker. It will freeze the chocolate instantly. You can use a spoon to break it up if needed.
You know the ice cream is done when it looks like soft serve and sticks to a spoon.
If you let your ice cream OVER-churn, the ice cream maker might start making louder noises that sound like it’s struggling to mix. This can lead to waxy and dry ice cream.
Turn off the ice cream maker and use a large spoon to scoop everything into the frozen ice cream container. You can use the plastic spatula to scrape the very frozen bits off the side.
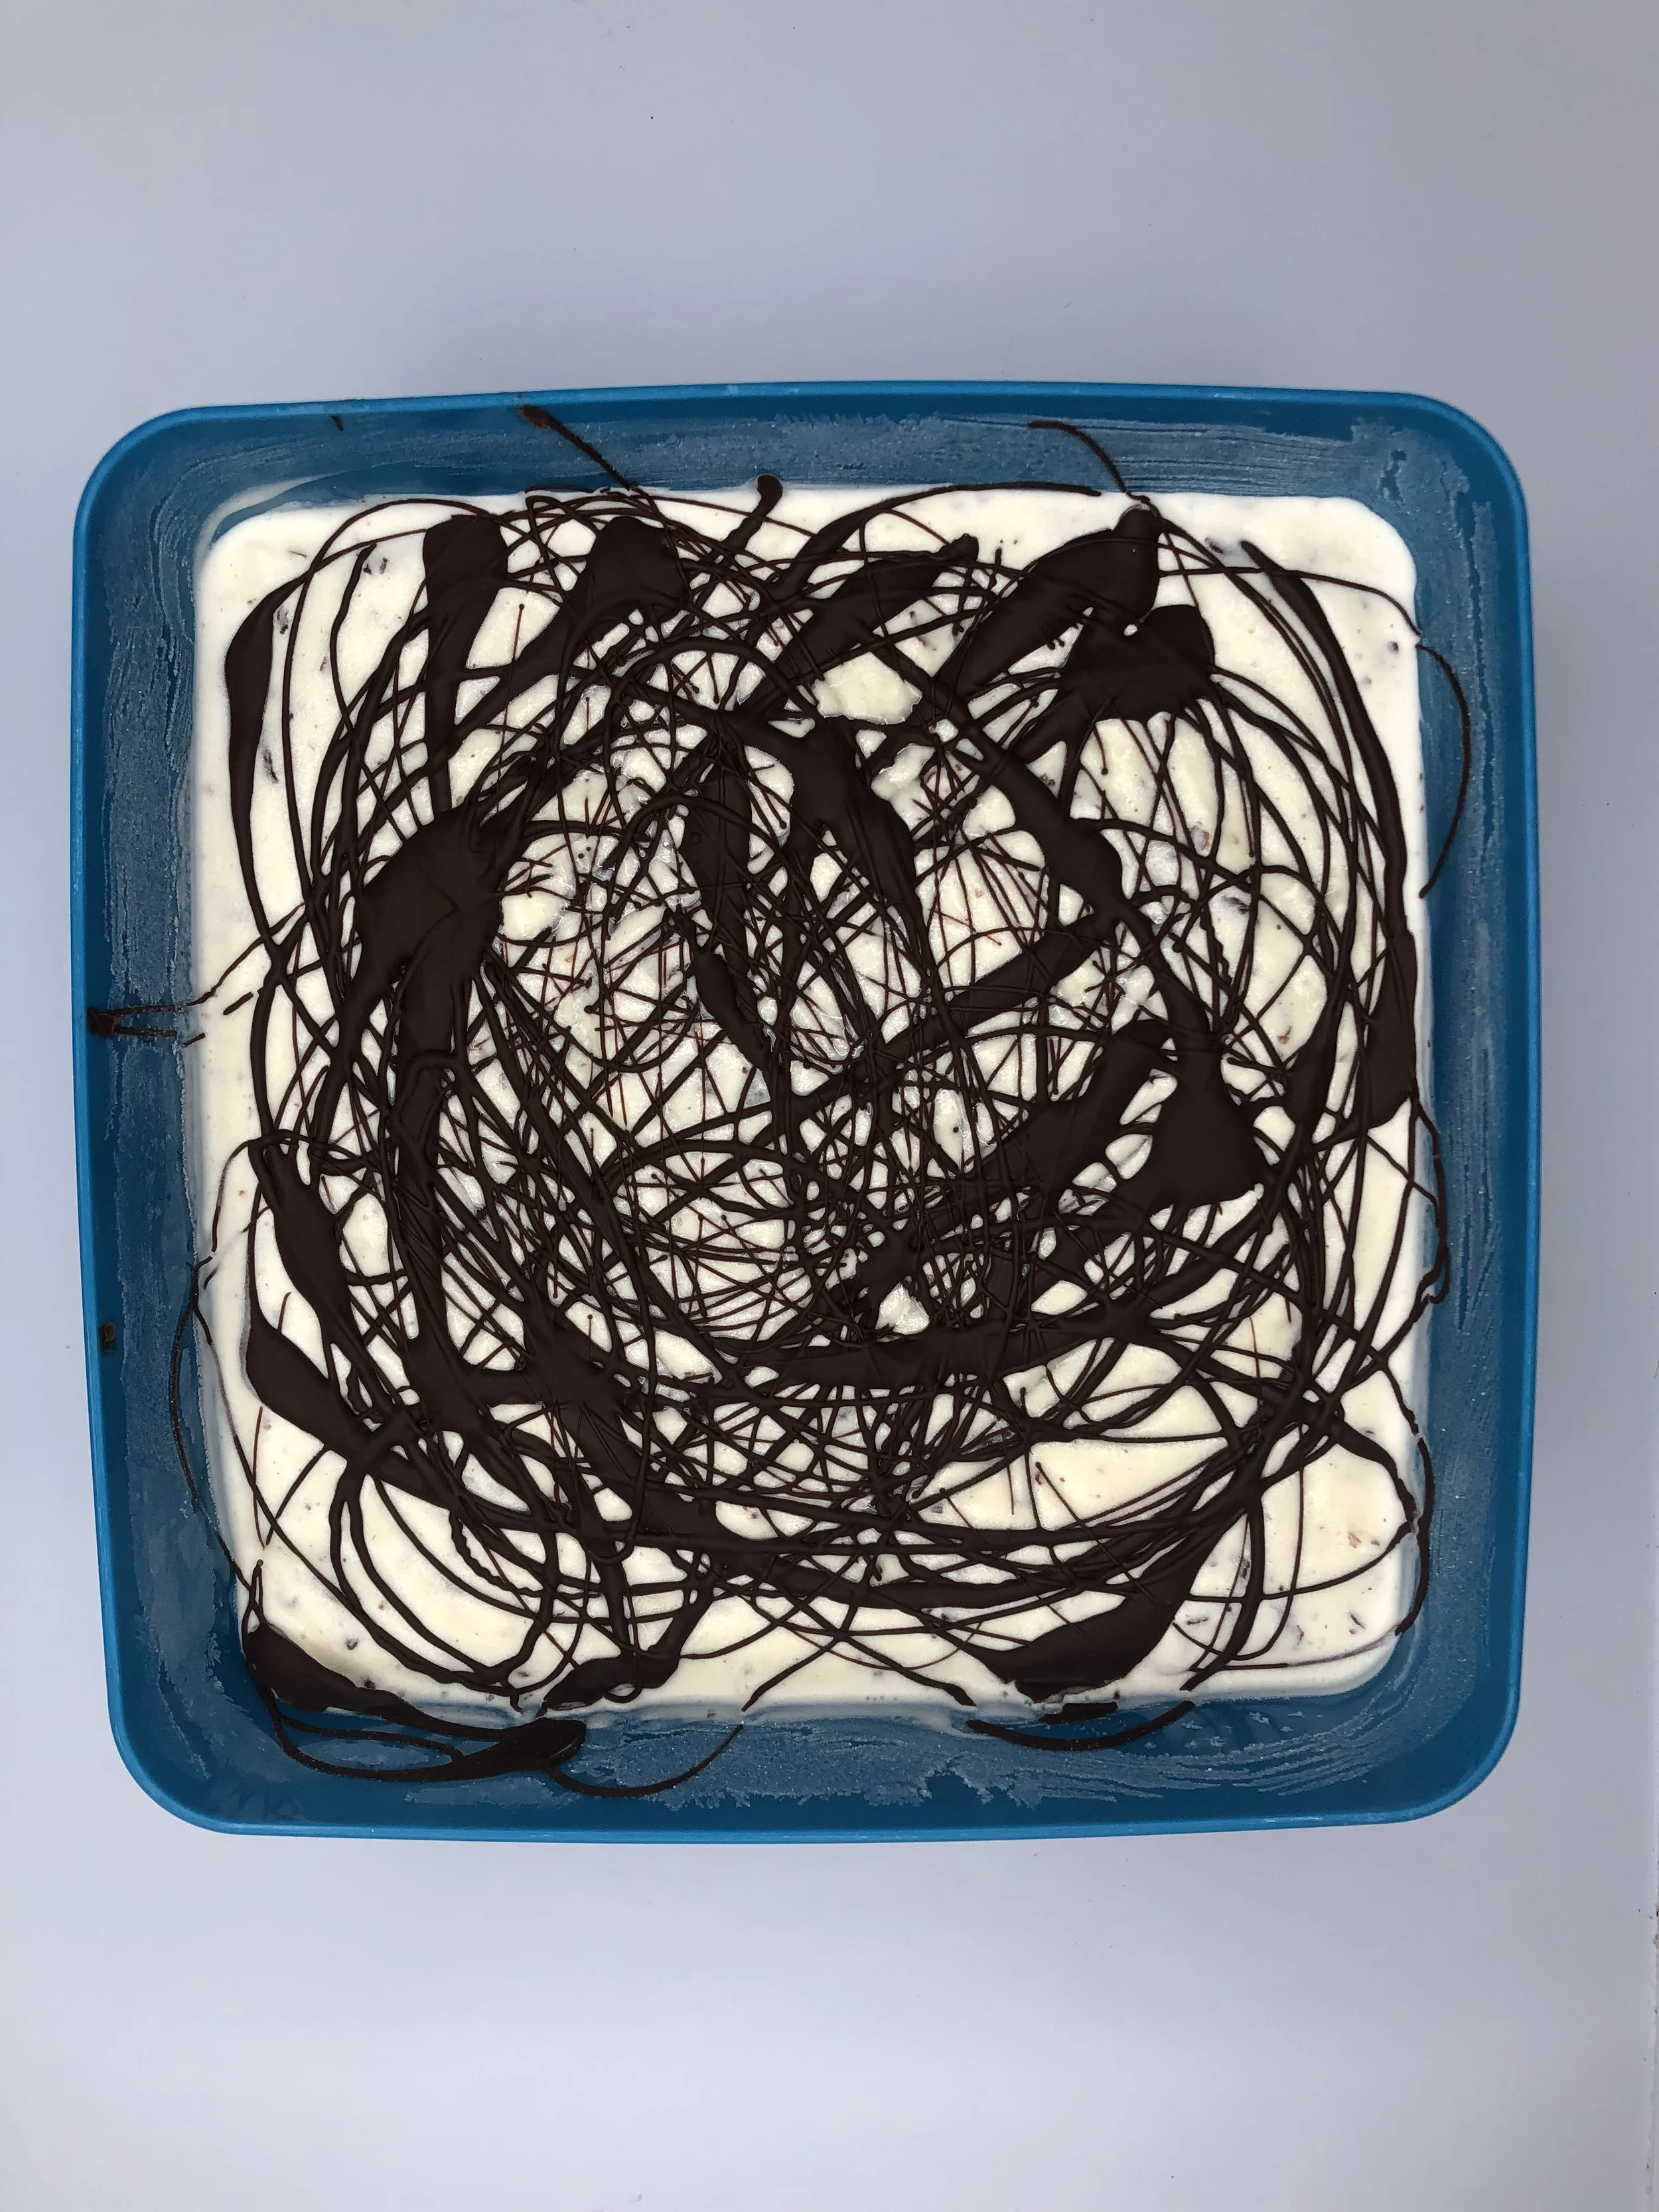
Smooth off the top of the ice cream to look however you’d like. I have also melted extra chocolate to decorate the top! See picture above.
I don’t recommend serving immediately unless you want VERY soft or soupy ice cream. Serving in 4-6 hours for soft-serve ice cream texture or at least 8+ hours for hard-serve ice cream. After 24 hours, you might want to let the ice cream thaw a bit before serving as it will get “icy”.
Enjoy! This ice cream will stay delicious for 1-2 weeks in the freezer before getting frosty, although I would be surprised if it lasts that long!
Not a fan of mint chocolate? Checkout my other ice cream recipes!
For a visual, see my instagram video here!
Changes/Substitutions
There are COUNTLESS ways you can make this ice cream! Please see my other ice cream recipes for different flavors.
You can skip the egg yolk portion of the recipe. It will still be delicious, although not as creamy or rich.
I wouldn’t recommend skipping the warming step because this allows the mint leaves to steep and add flavor to the ice cream.
RAW MILK: You can of course use regular pasteurized milk in place of raw milk. If you will be doing this, I would recommend using 3 cups of milk and 2 cups of cream.
HONEY: Any type of sweetener can be used in place of the honey, although the honey is a more natural option and gives it such a great flavor! The only other sweeteners I have used is maple syrup and that is also VERY good, just a different flavor. I like to add maple syrup if I am just mixing the ingredients together and not warming them. Honey can be tough to incorporate if the milk is cold.
If you choose to use granulated sugar, coconut sugar, brown sugar, etc. you may need to use more than the recommended above, as these sugars will not be as sweet as honey.
Sadie creates naturally sweetened and savory dishes with an animal-based way of eating in mind.
Meal prep is her specialty.
She likes to make traditional recipes that are inclusive to everyones palate and lifestyle, while showcasing natural alternatives.
Learn more in “About me”
Please checkout my instagram account for videos of me making these recipes!
I also add daily meals to my story and other useful healthy content.
Enjoying my content?
<—— follow this link to support me ❦


